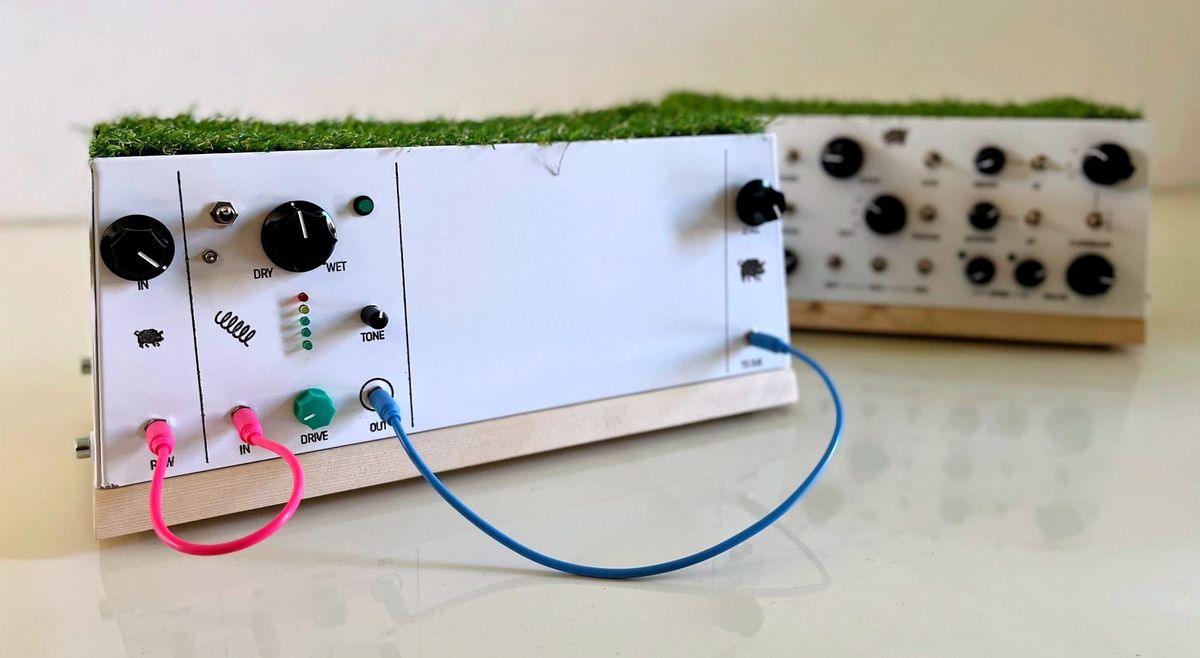
Spring reverb
Spring reverb with VU meter
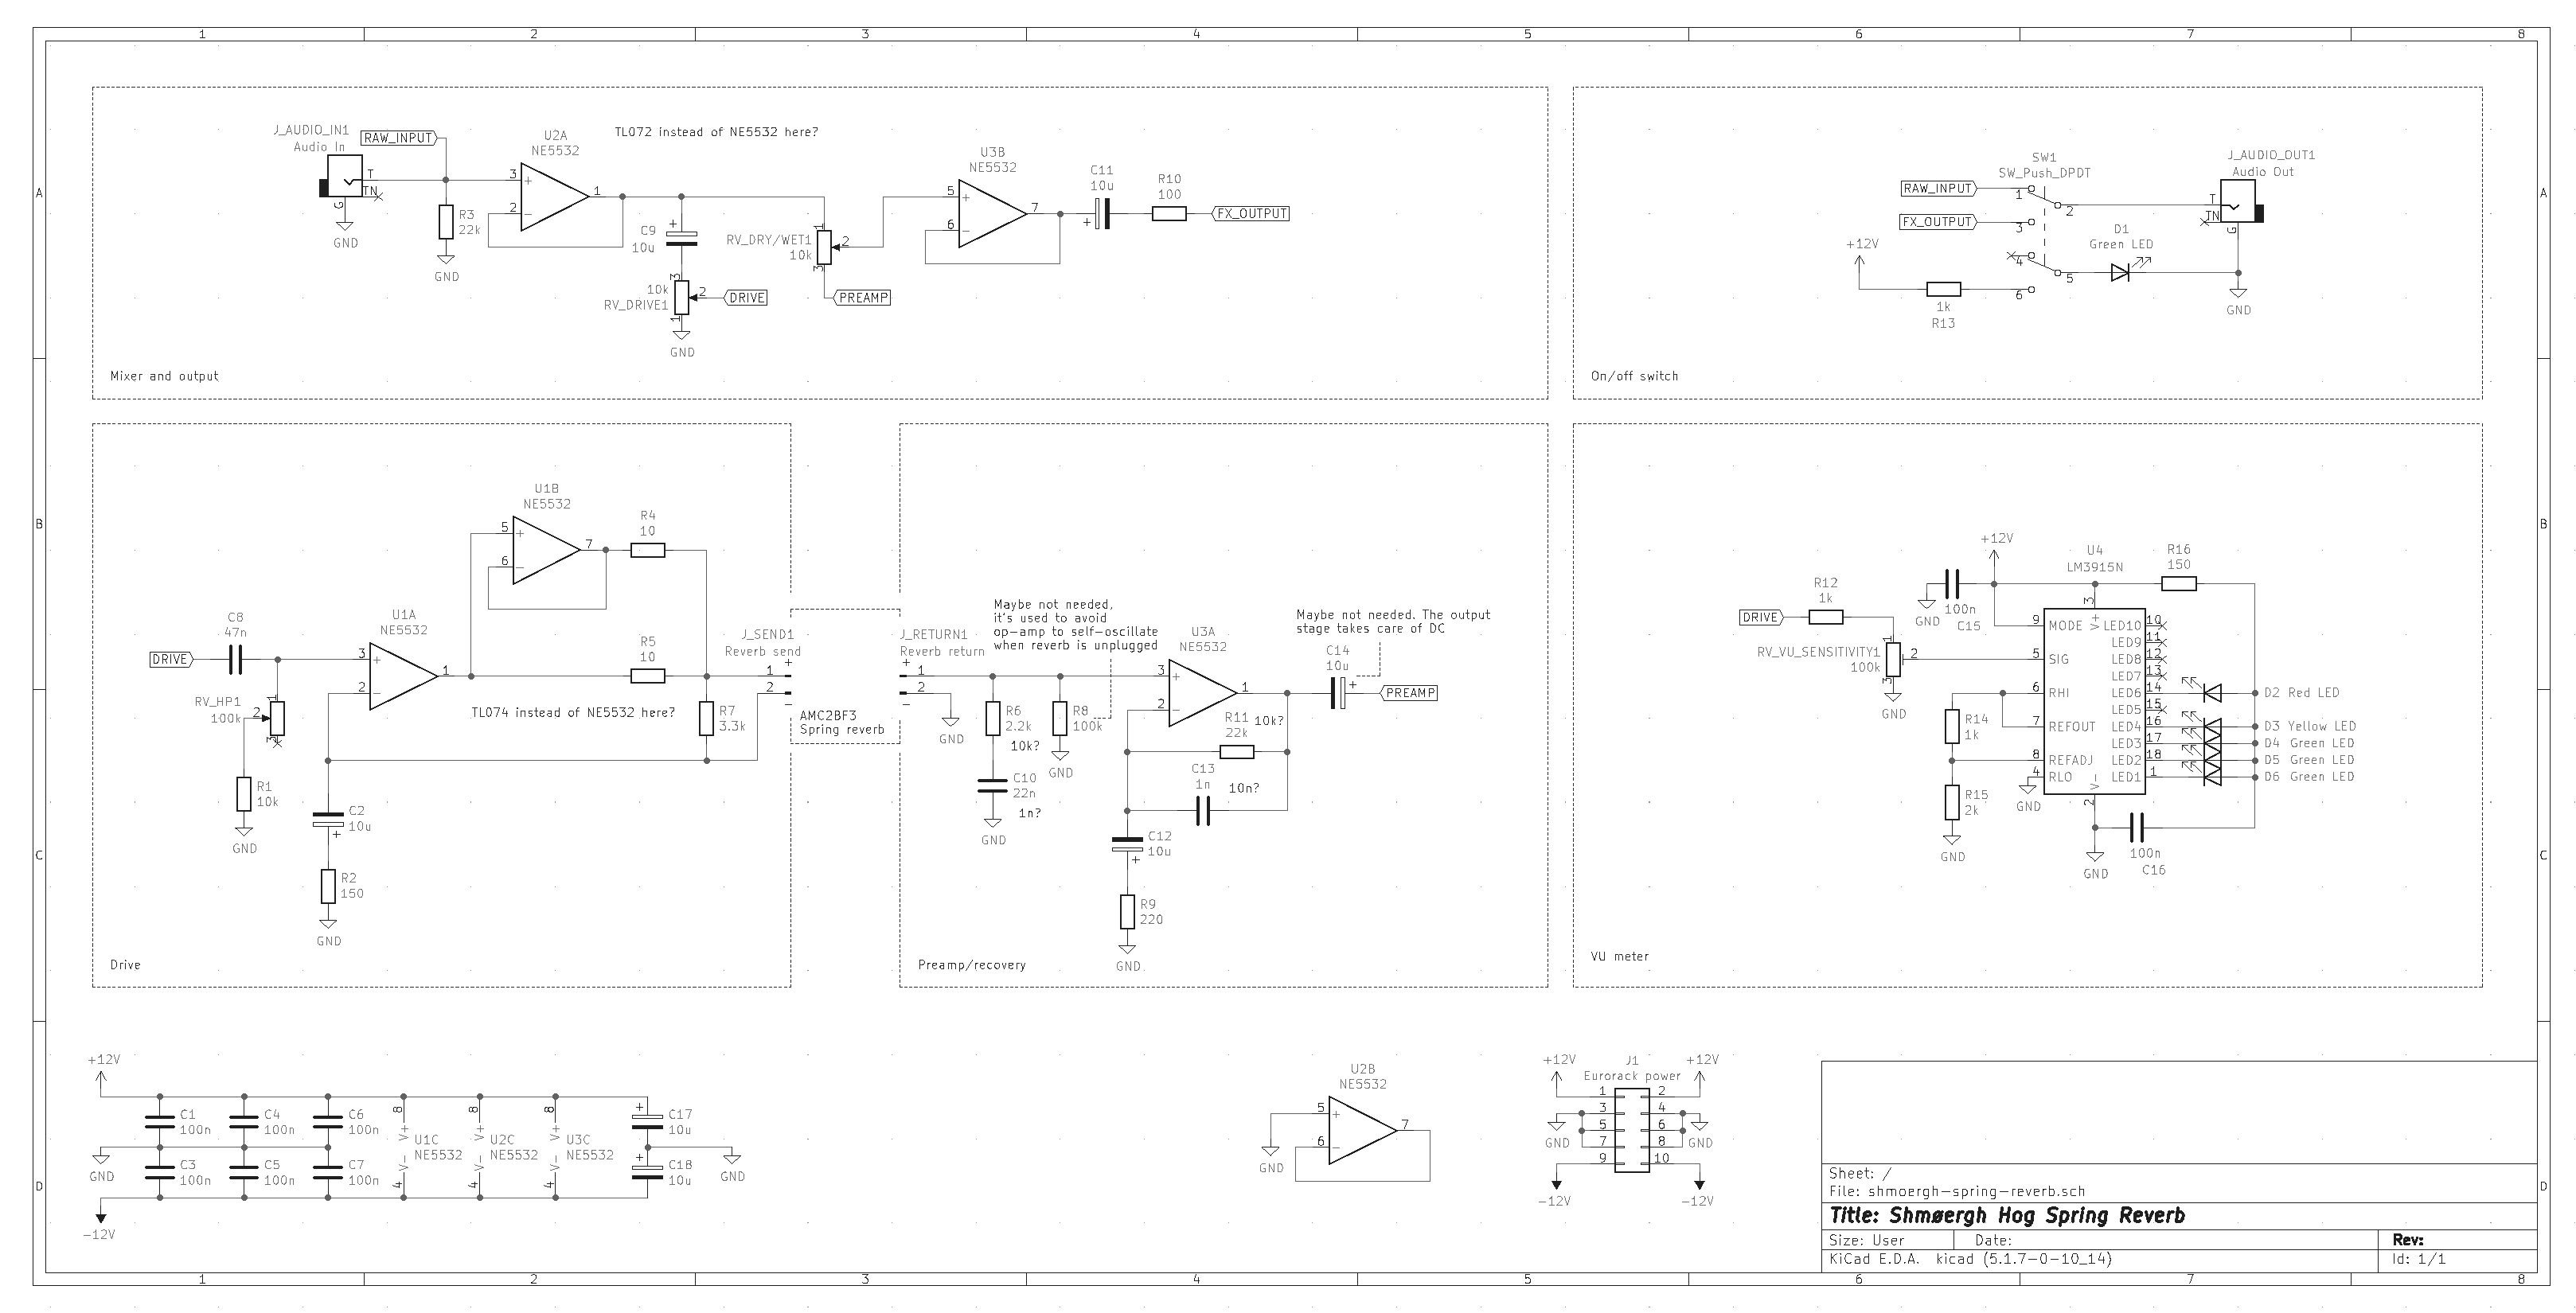
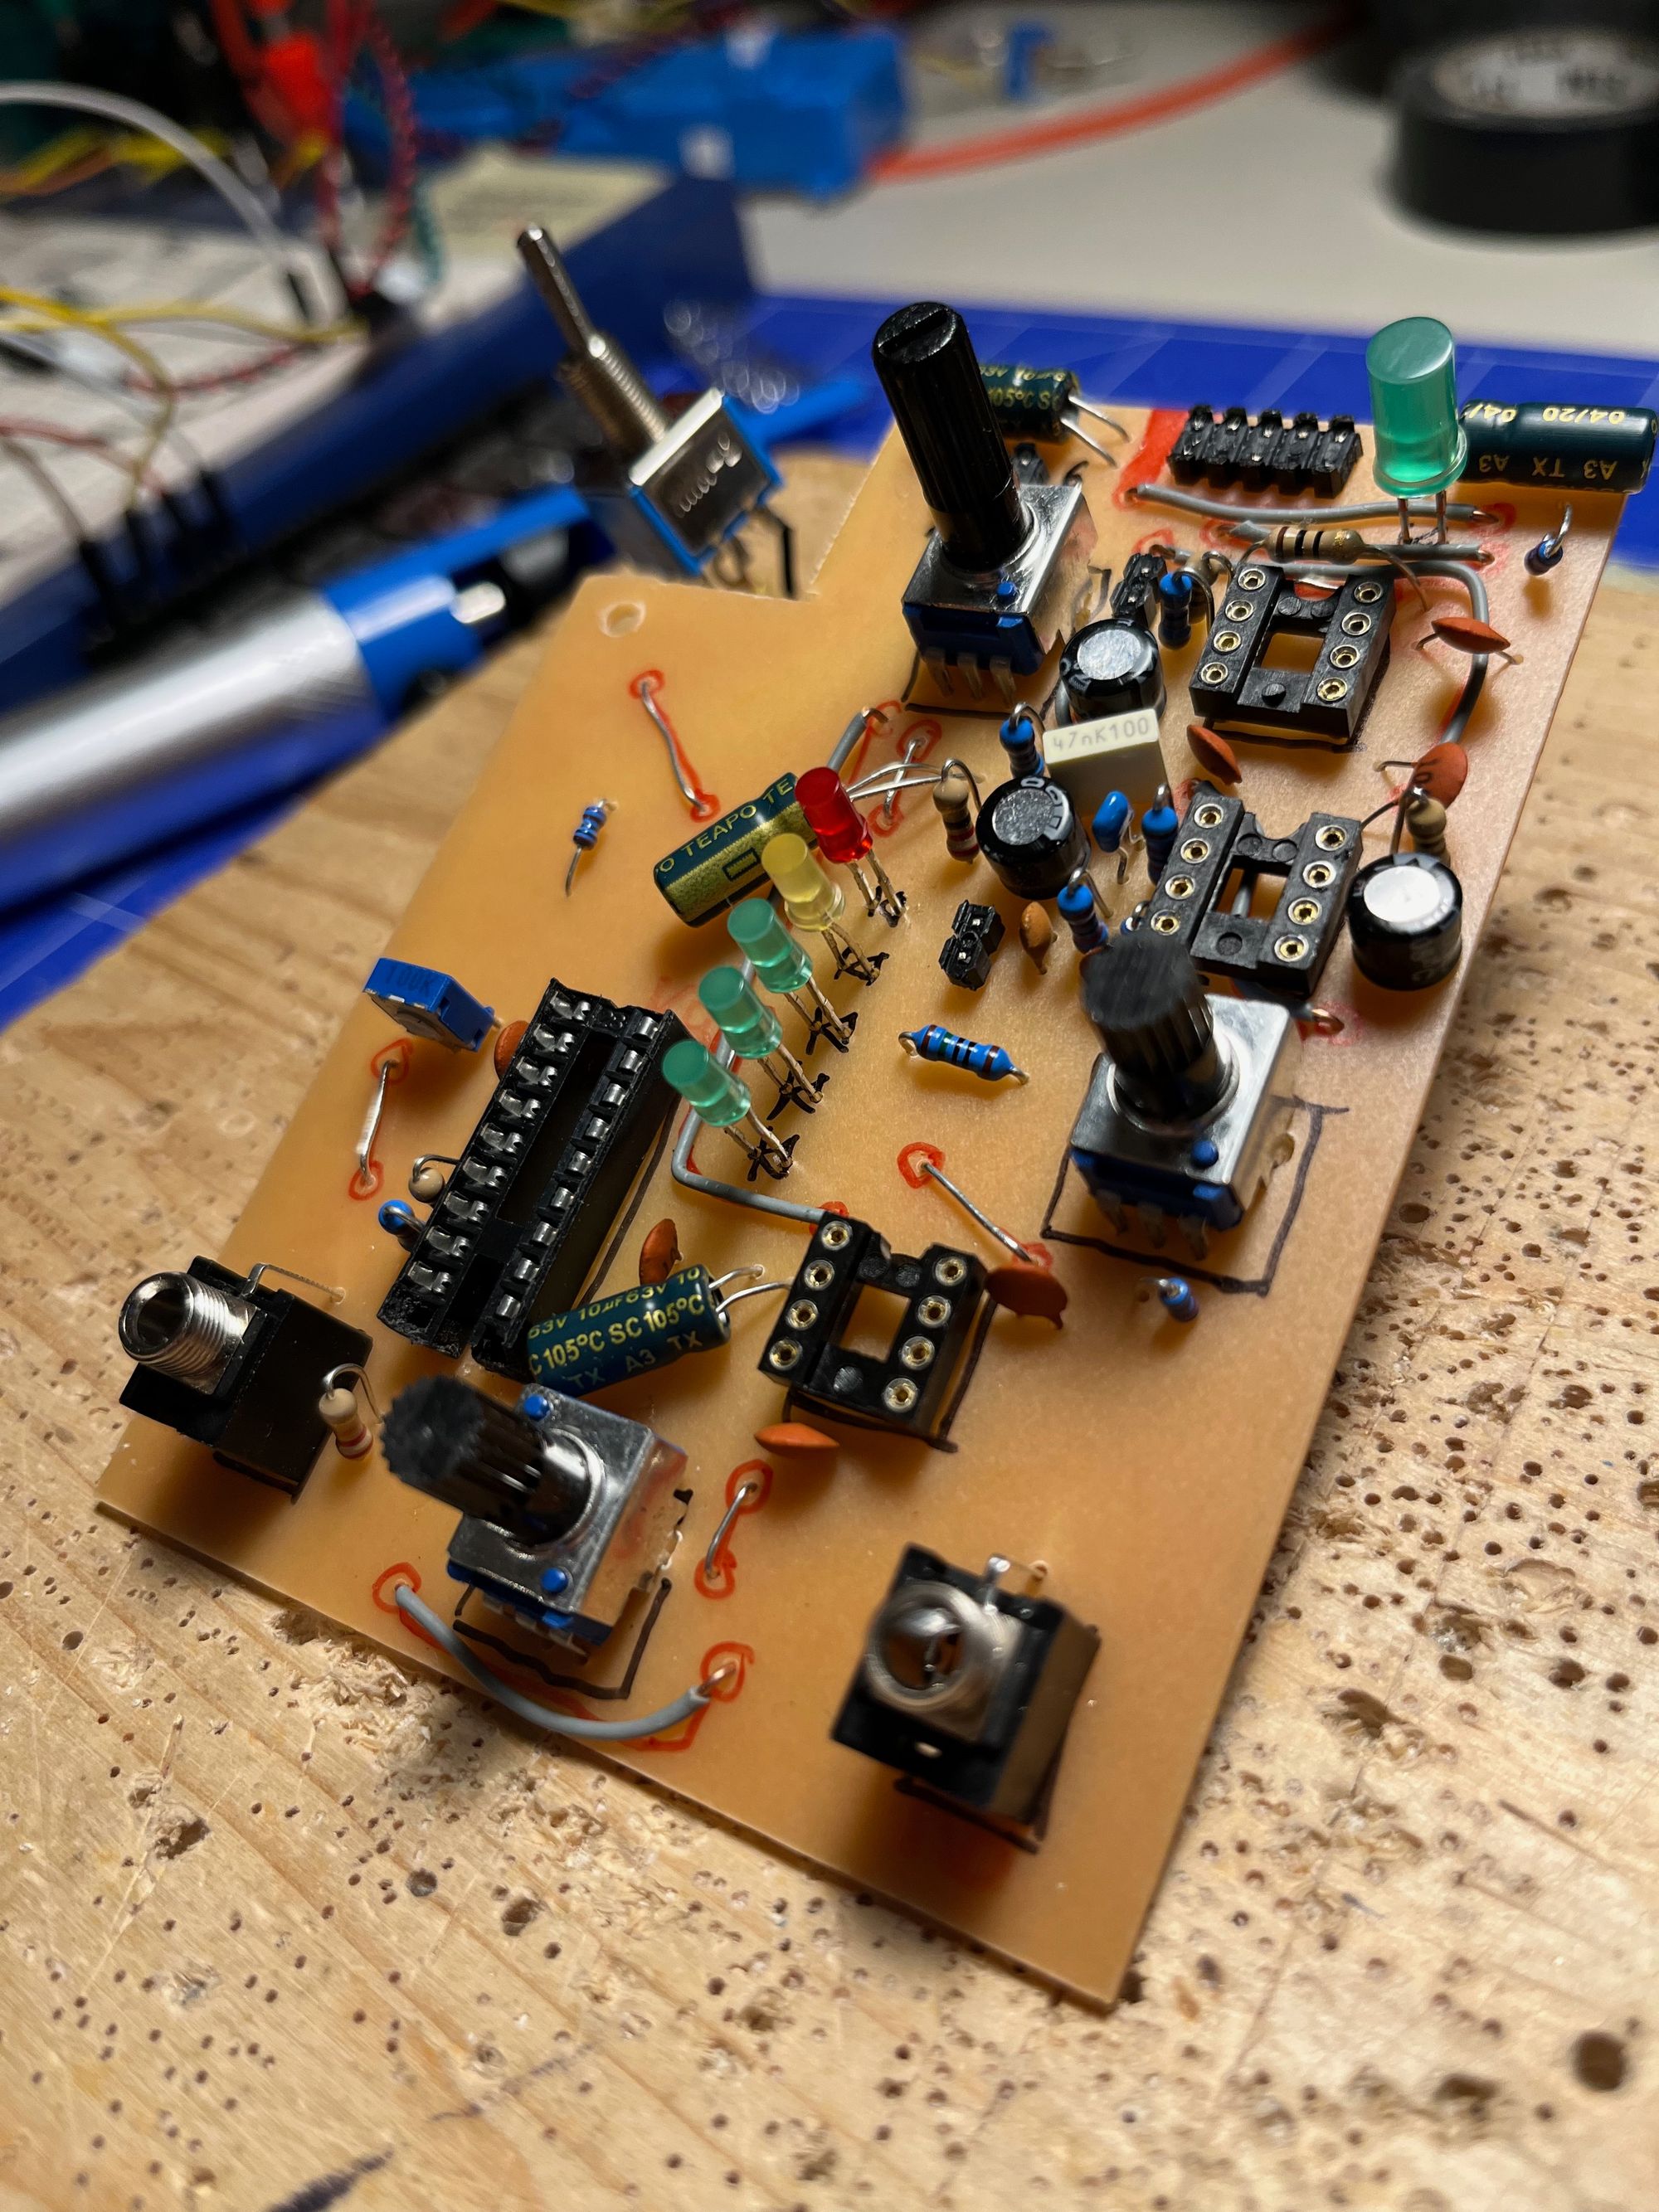
Schematics
 peterzimon
Tested with Accutronics AMC2BF3 (the blue plastic) reverb tank.
References
- Main reference: Elliot Sound Products – Spring Reverb Units
- Kassutronics Spring Reverb
- VU meter: Elliot Sound Products – Project #60
Reverb is the most used effect of all time, applied to almost all instrument and vocals in pretty much all songs. It's a subtle effect, we don't really notice it until it's not there. It's probably because reverb is one of the most natural sounds in the world: every room or space has its own echo and depending on many factors it could be perceived as a distinct delayed duplicate of the sound ("delay" effect) or just an extension of it, making the overall sound "bigger" (a reverb).
Back in the 60s there were not too many ways to generate reverberation: studios had either an echo chamber (they directed the sound to a room and re-recorded the music using the room's acoustics), or a plate reverb in which they would let the sound travel through a bigass metal plate and pick it up from a distance from the source. The issue with both of these is that they are absolutely not portable.
So the Hammond company (who eagerly wanted to add a portable reverb to their organs) took an idea from Bell industries and developed the first commercial version of the spring reverb. The idea is super simple: somehow drive the sound through a couple of springs and somehow pick it up on the other end. Mix it with the original sound and there you go.
Build
Building a spring reverb is not complicated but it requires a bit more than just a spring and a couple of wires. The sound is superimposed on the spring by driving it to a coil which results in an electromagnetic field that moves along with the input soundwaves. At the end of the spring there's a small magnet attached which is put in the center of the coil (ie. the center of the moving magnetic field), so the spring physically moves just like the original sound.
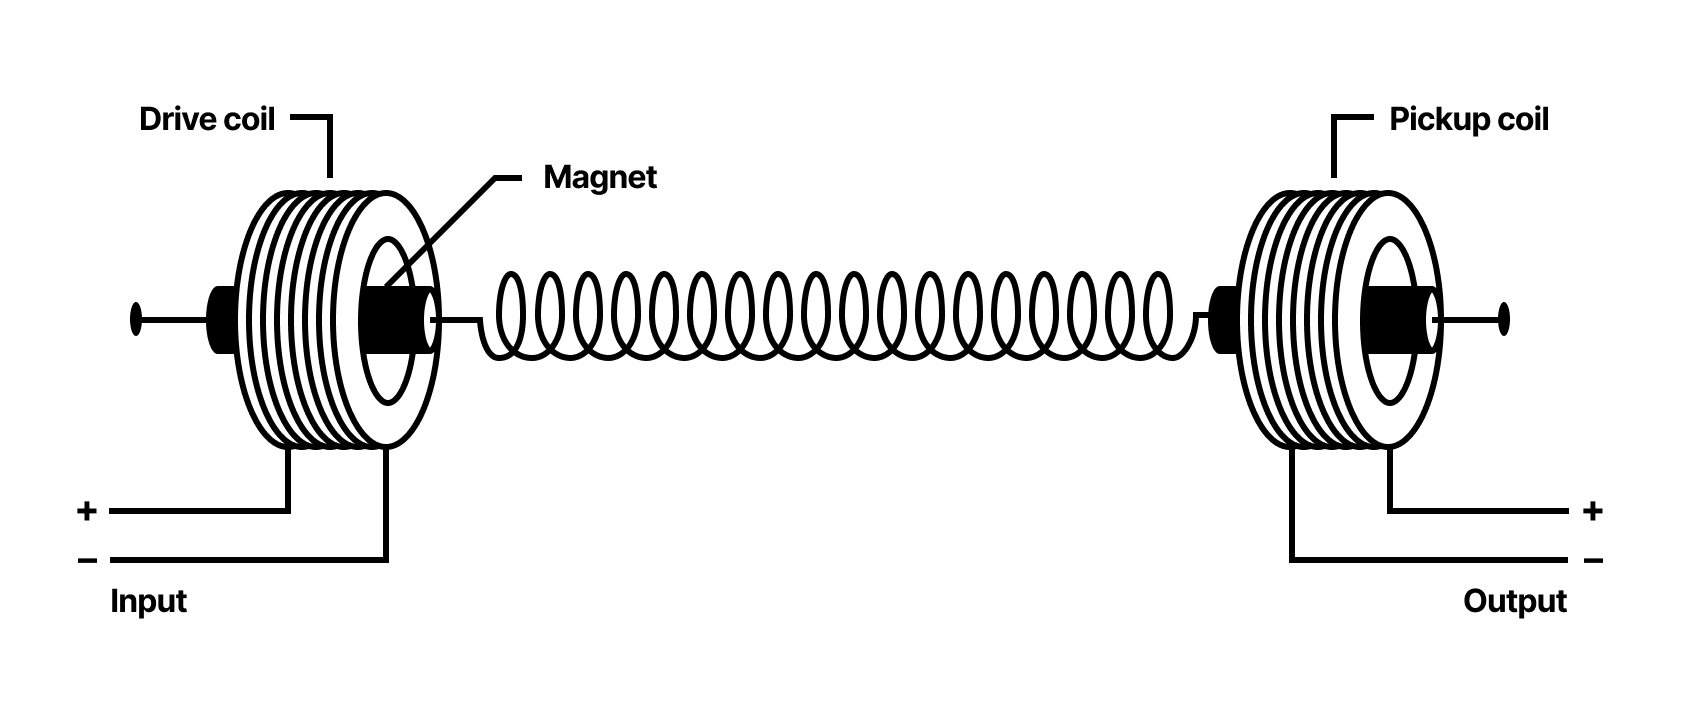
The sound "travels" through the spring and it arrives to the other end just a tiny bit later. Then at the end of the spring everything is done backwards: the movement is picked up and turned into electrical waves by a coil pretty much the same way as strings are picked up in electric guitars. The character of the reverb (length, voice) depends on how many springs you use, the stiffness and the length of them.
Spring reverb driver coil in slo-mo
Drive and recovery circuits
This mechanism requires a circuit which can supply enough current to the drive coil so that it's actually able to move the springs. Also a recovery circuit is needed that amplifies the otherwise very weak signal back to the original volume.
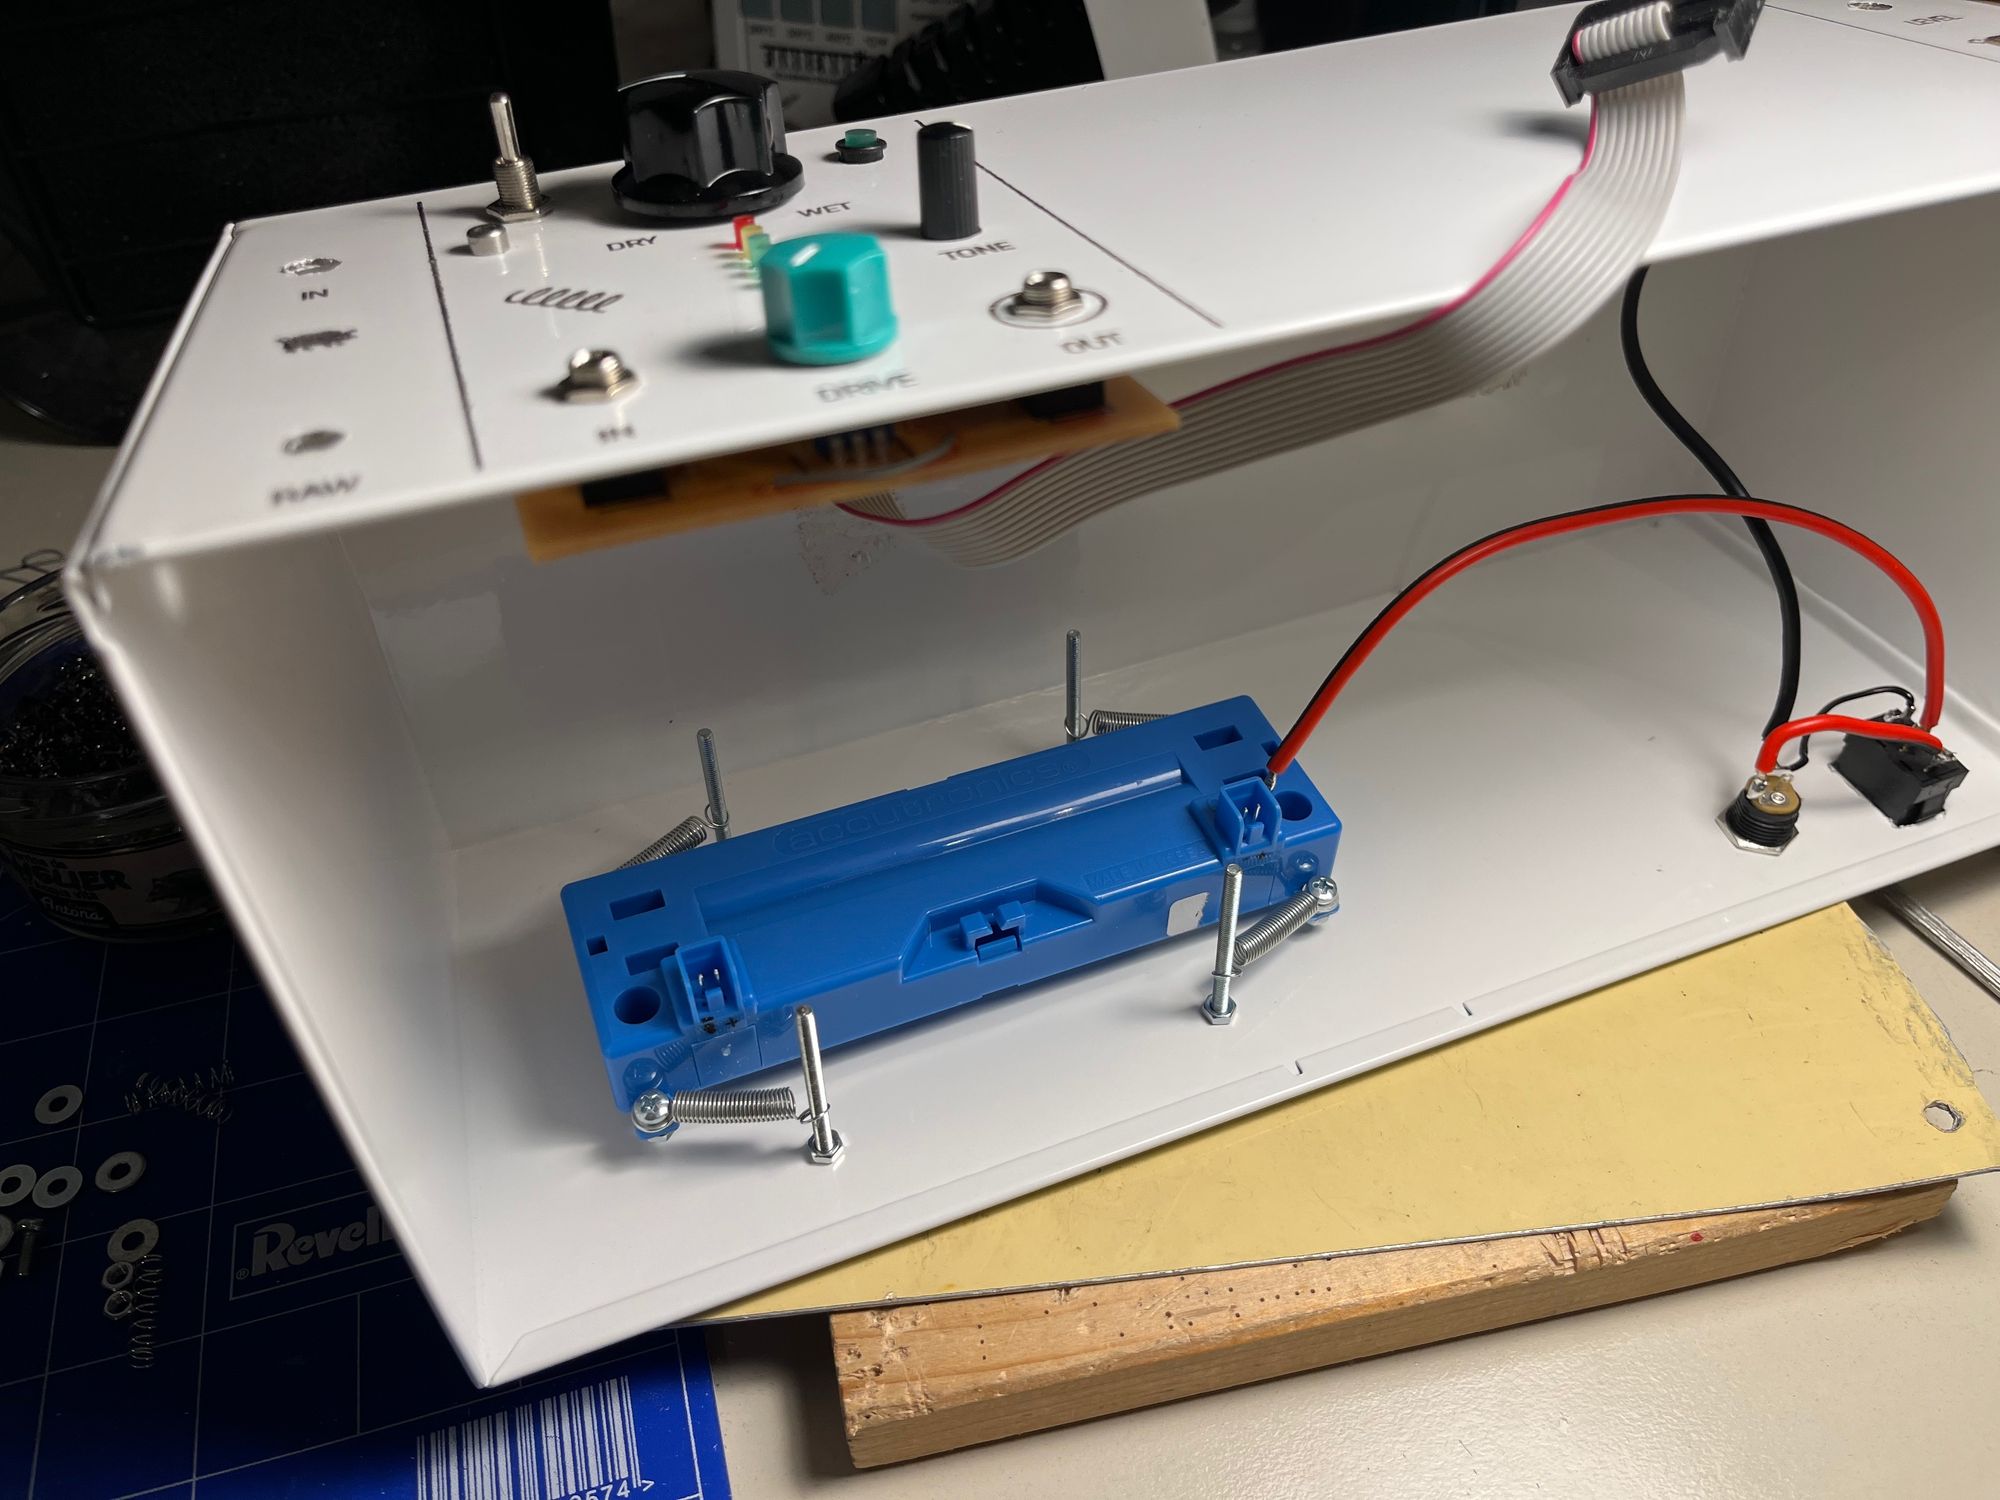
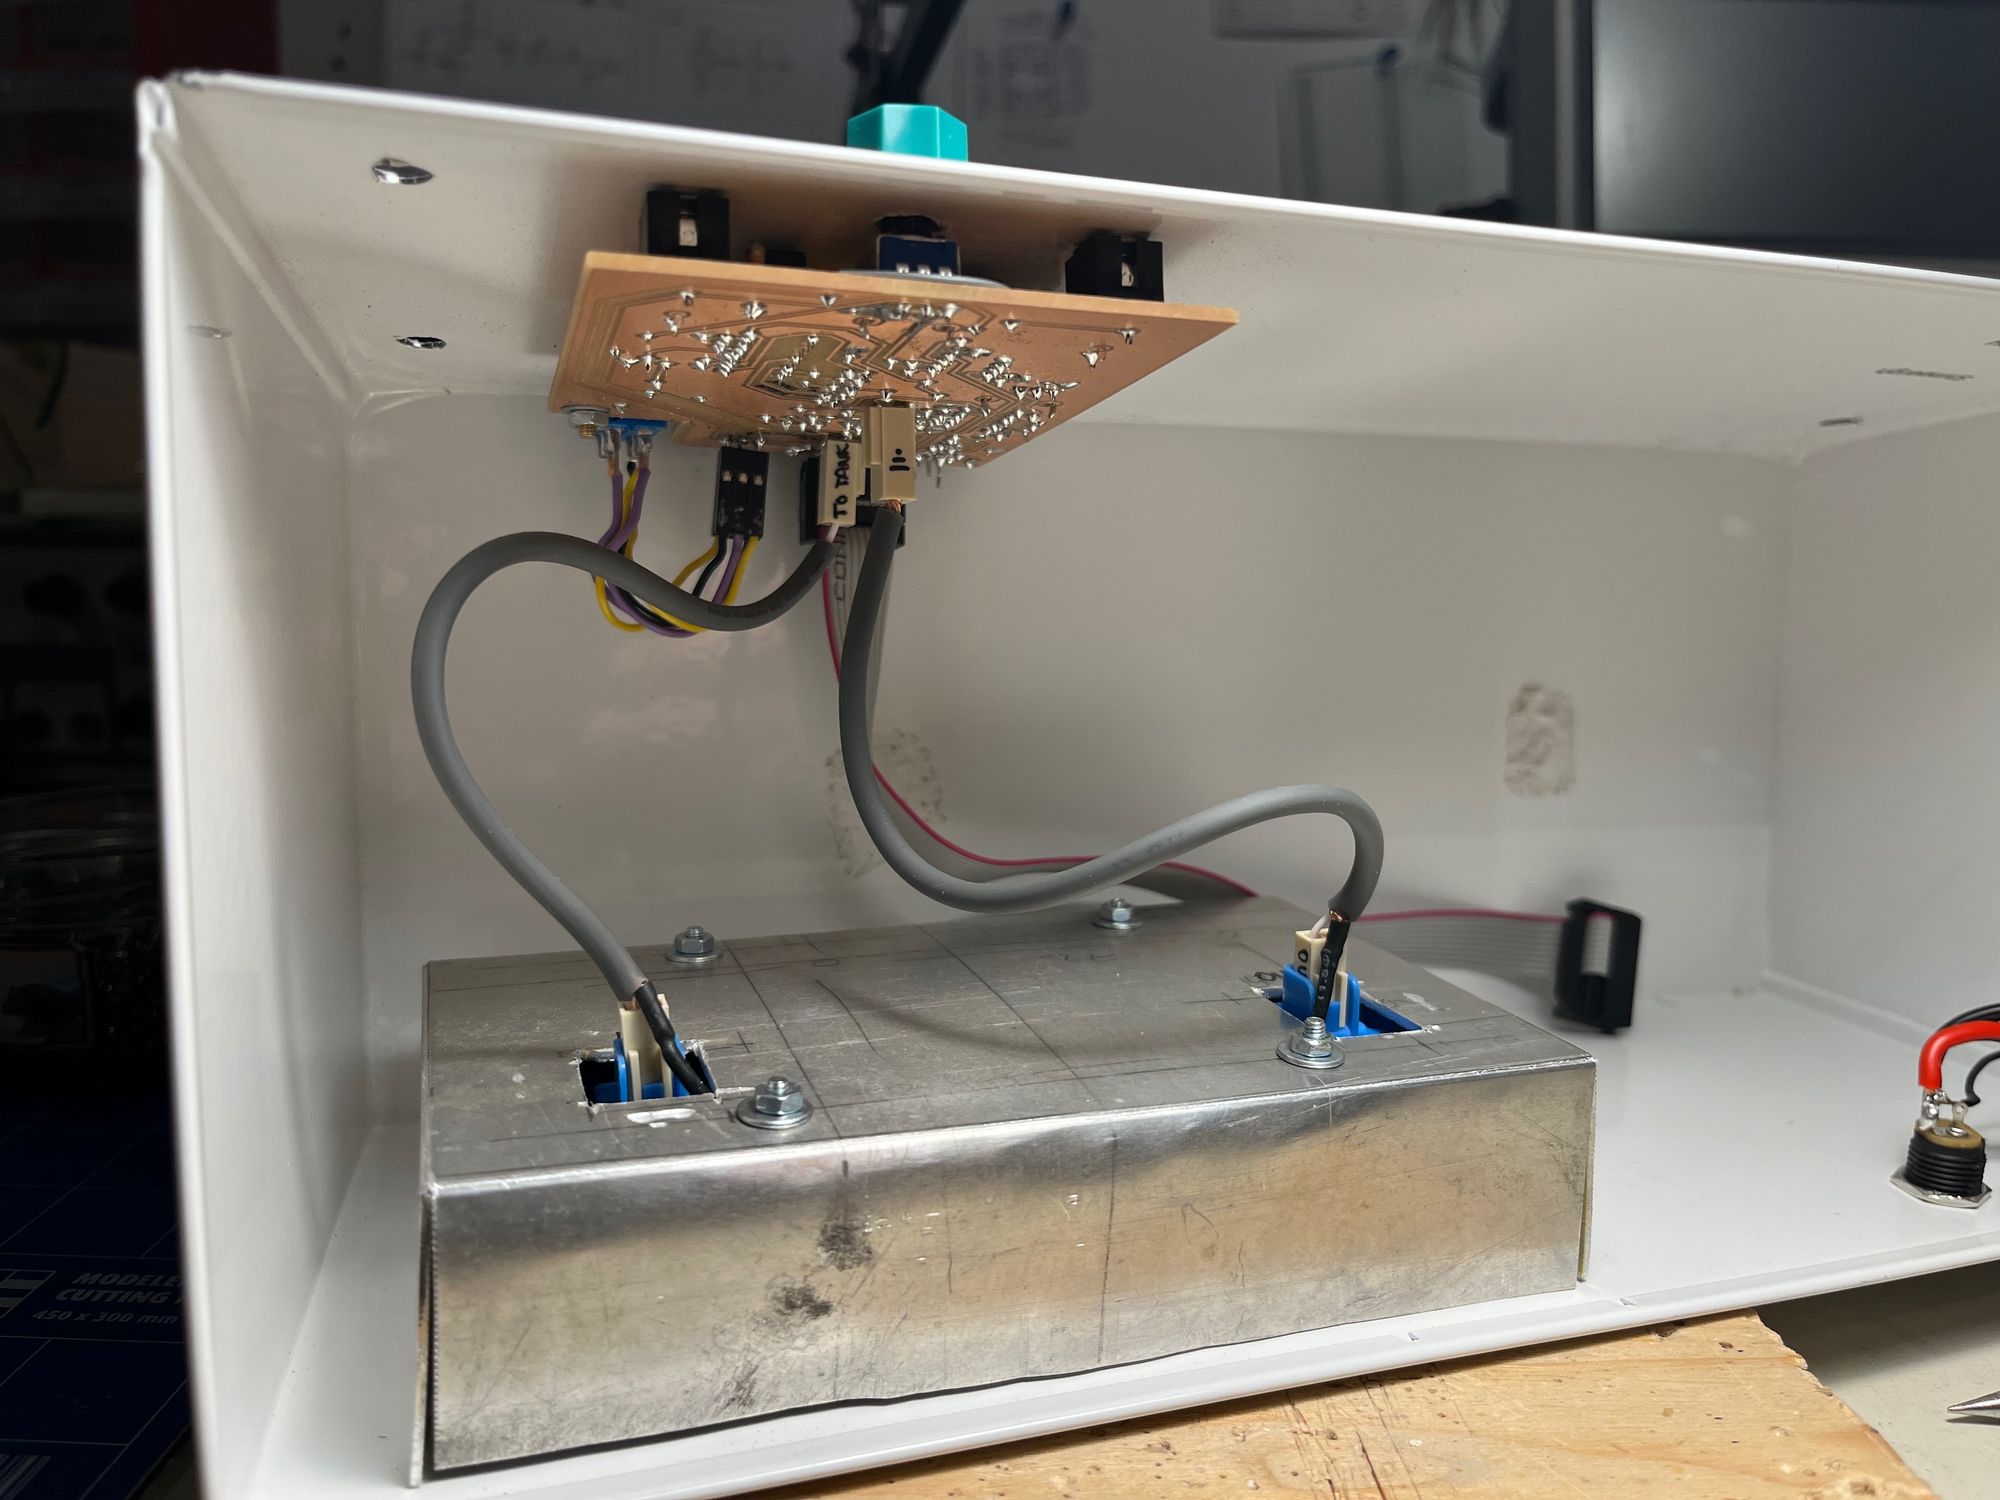
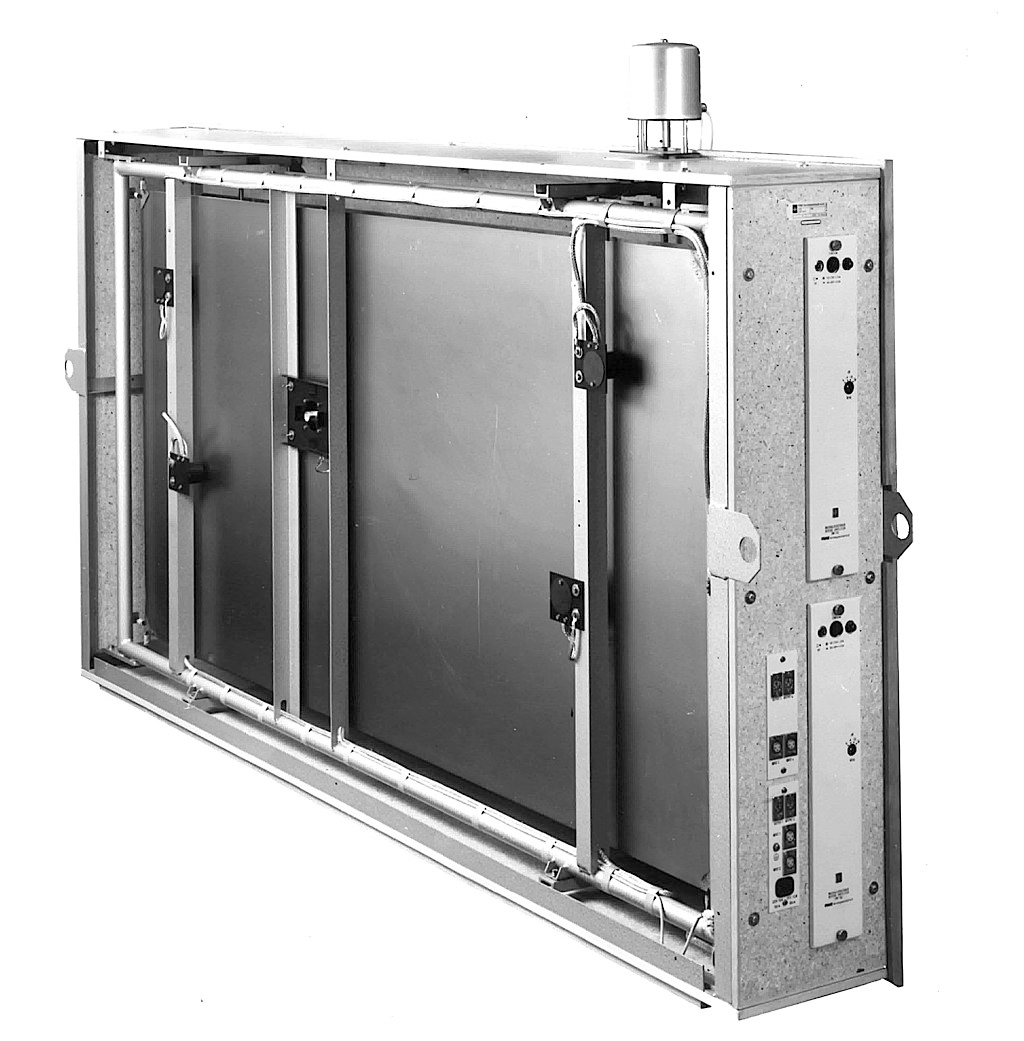
Circuit board, reverb tank (the blue thing) and the poor man's electromagnetic shielding
Handling noise
As said, spring reverbs are very-very sensitive circuits. As you can see above, I made a Faraday cage connected to circuit ground and replaced the cables of the reverb tank to coaxial cables with shielding connected to circuit ground. This helped but didn't completely remove the noise. Note that it's critical how far the power supply transformer (or DC adapter) is from the reverb tank, obviously the closer it is, the bigger the noise.
VU meter
Coils should be driven with an optimum current: if the drive amount is too low, then the springs won't move, if it's too much it can actually damage the mounting. To have an idea about how much we drive the reverb I added a little meter on the front panel.
Boing
There's an extra feature on the box called "Boing" which is the result of an accident: first I fucked up and drilled the holes for the reverb tank mount to the wrong place, so there were two extra holes on the back of the IKEA flower pot chassis. One day at 2AM I suddenly woke up from my sleep with an idea of what I could do with them.
Spring reverbs are very sensitive circuits. If you hit the reverb tank (the enclosure which contains the spring) then it produces a very loud boingy sound. It's a staple sound effect of many dub songs but can be really annoying if you just want to play your keyboard so I mounted the reverb tank on four screws with springs (very meta). This prevents all accidental hit on the tank no matter how hard you hit the box.
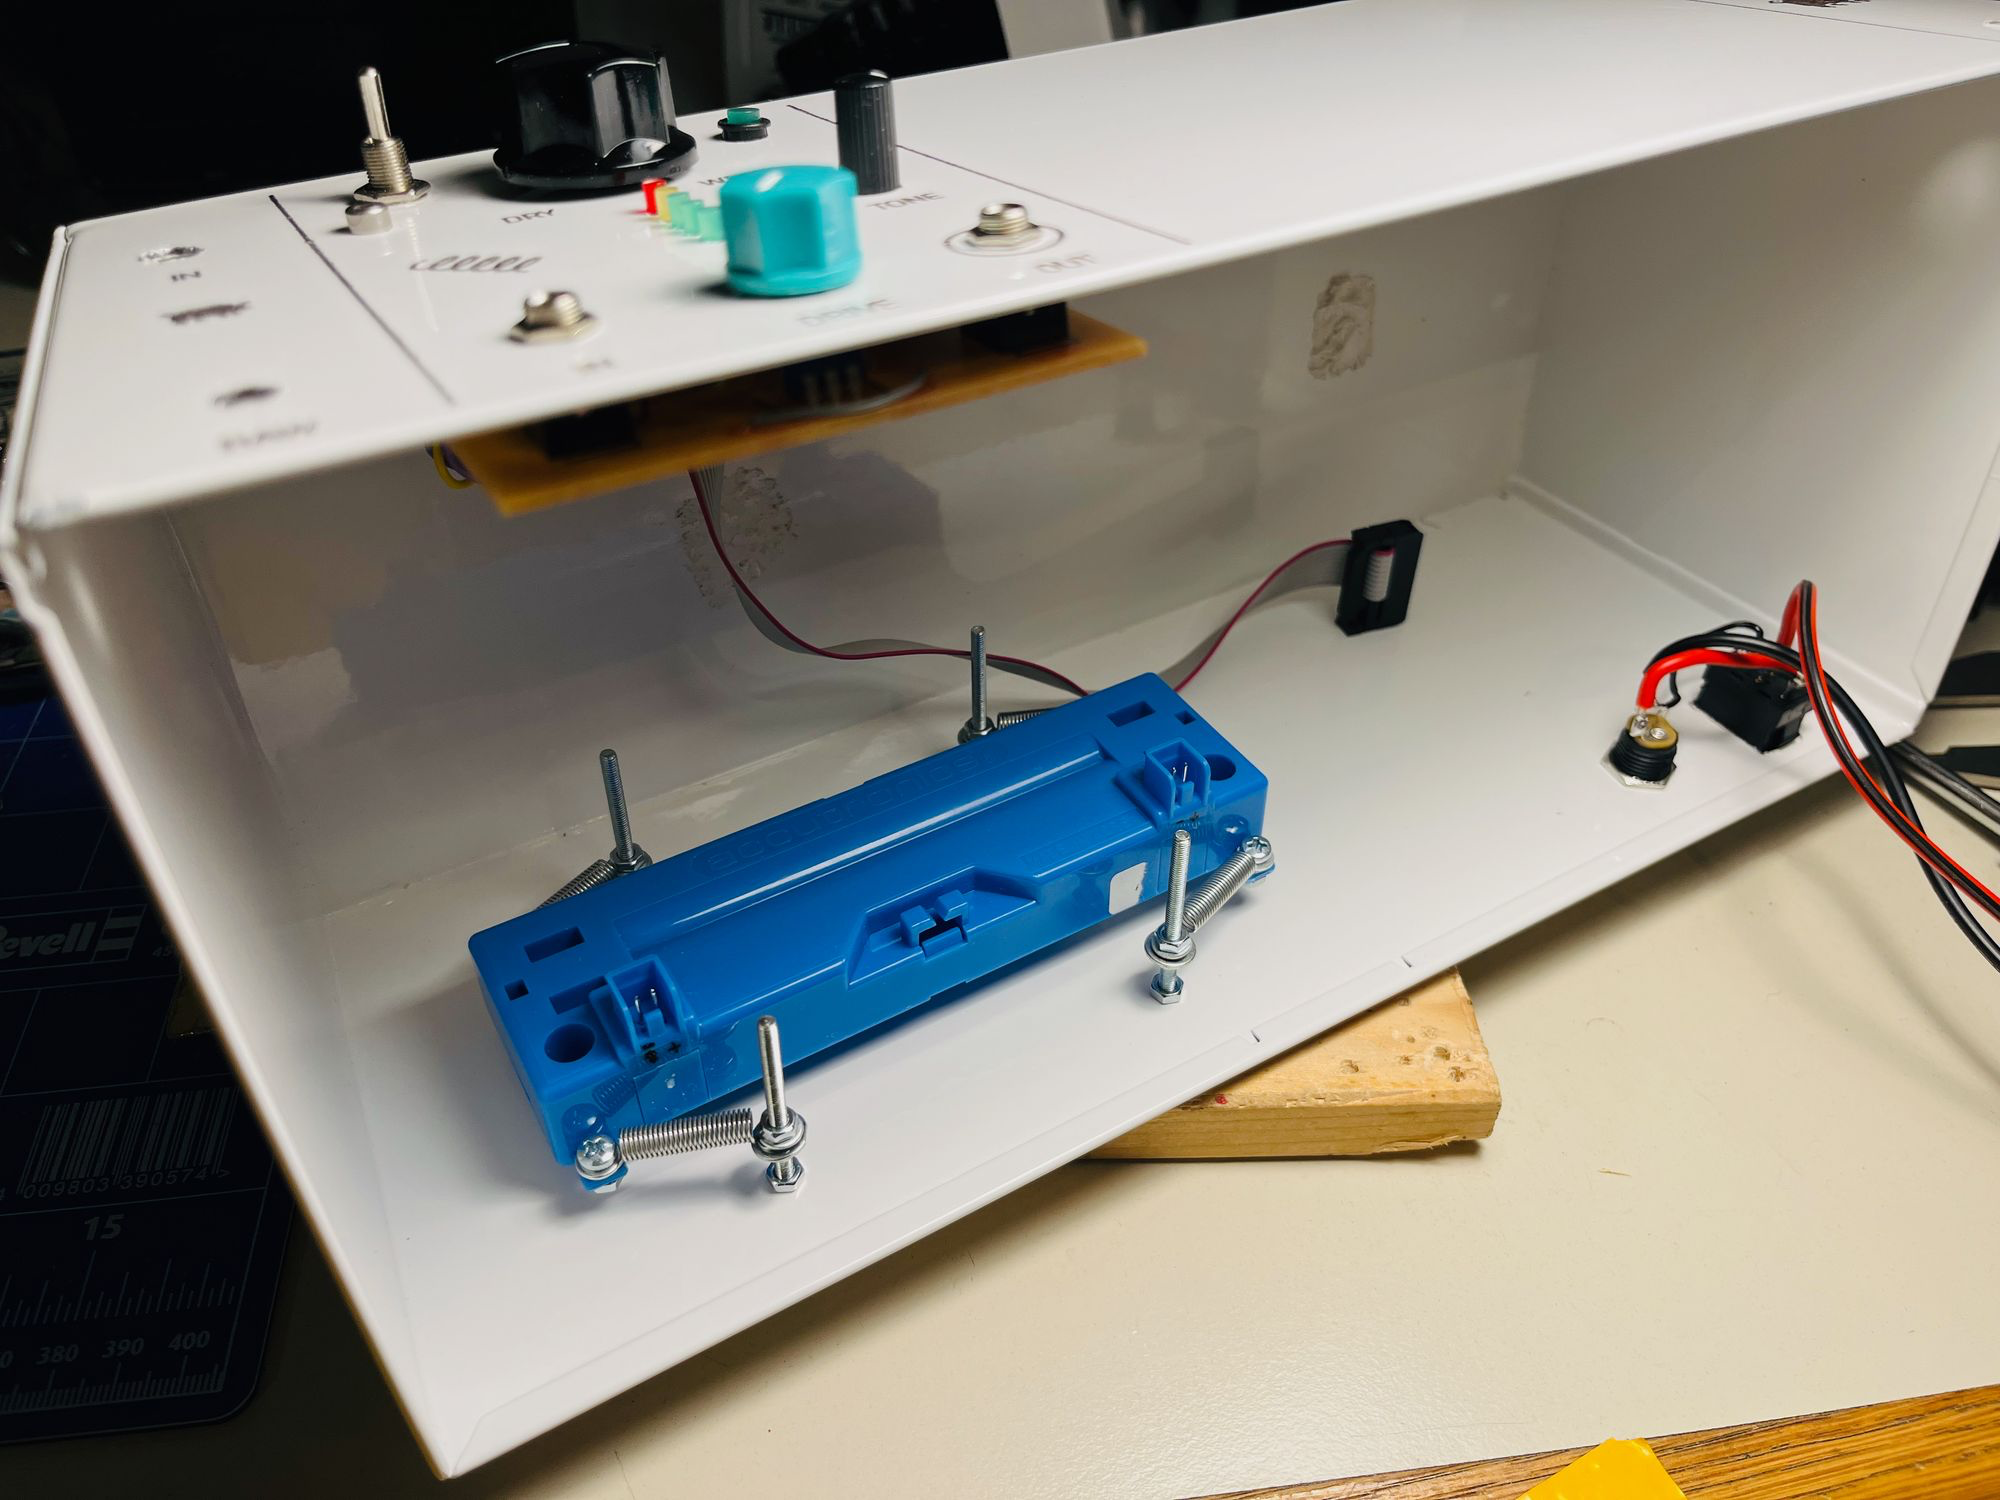
But the problem is that it also doesn't let you produce that dubby spring reverb hit sound which is just too cool. So I reused the two accidental holes and added a lever to be able to hit the reverb tank.
How does it sound?
As you can see, this unit can be used for basically anything. It gives an awesome analog reverb sound.