Raspberry Pi Pico on Mac with C++ — part 2: First program
Blink the Pico's built in LED
In the previous post we installed the necessary softwares to get started with embedded development on the Raspberry Pi Pico. This time let's make the "Hello world" of embedded development: blinking an LED.
Pico SDK
The Pico SDK is a software layer that lets you write code in a much simpler way than directly communicating with the microcontroller. Get the SDK by running these commands:
cd ~/Code
git clone -b master --recurse-submodules
https://github.com/raspberrypi/pico-sdk.git
You'll need to add the PICO_SDK_PATH variable to your profile so CMake can access it:
export PICO_SDK_PATH="$HOME/Code/pico-sdk"Pico SDK home
First compile
First we'll create a simple program that does nothing but it helps us understand what files are needed to compile a program. We need to create a new folder, copy the Pico SDK CMake file to it and create a CMakeLists.txt file to configure the board and link libraries from the SDK:
mkdir PicoTestto create a project PicoTestcd PicoTestcp ../pico-sdk/external/pico_sdk_import.cmake .- Create
CMakeLists.txt— see listing below touch source.hecho '#include "source.h"' > source.c
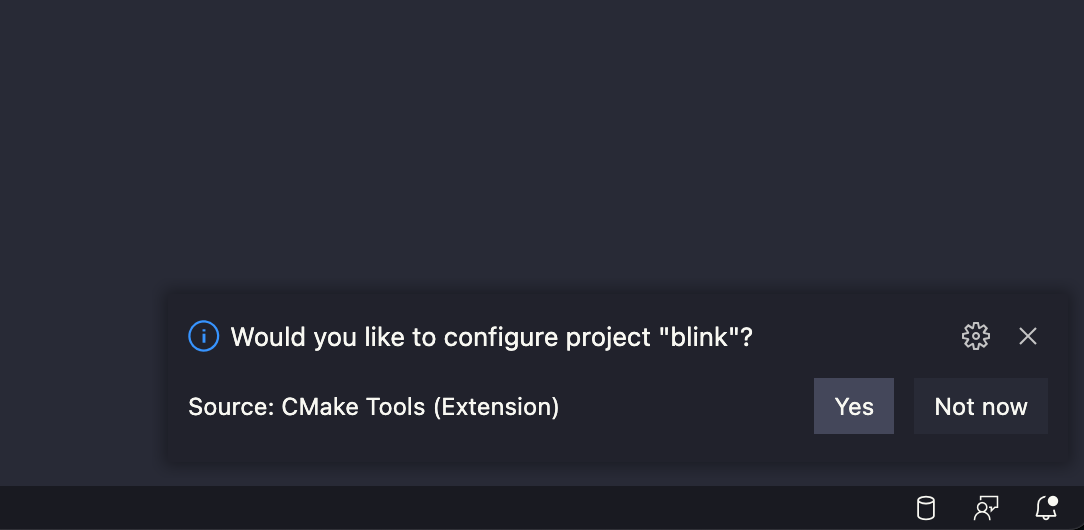
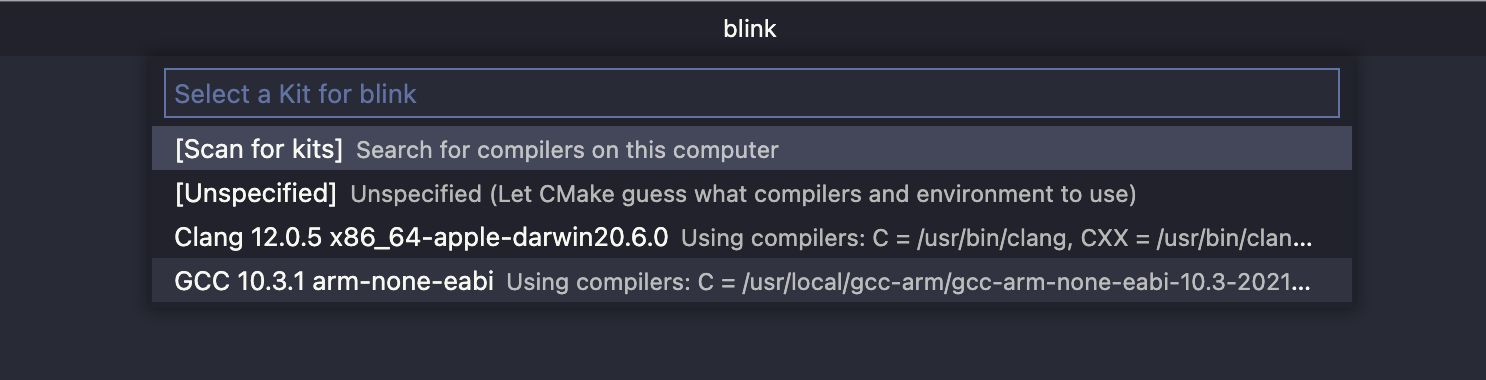
From within Visual Studio Code, open the folder PicoTest. When CMakeTools asks you if to configure project, say yes and select the kit GCC for arm-none-eabi x.y.z.
# What CMake to start at
cmake_minimum_required(VERSION 3.12)

# Include the subsidiary .cmake file to get the SDK
include(pico_sdk_import.cmake)

# Set the name and version of the project
project(PicoTest VERSION 1.0.0)

# Link the Project to a source file (step 4.6)
add_executable(PicoTest source.c)

# Link the Project to an extra library (pico_stdlib)
target_link_libraries(PicoTest pico_stdlib)

# Initalise the SDK
pico_sdk_init()

# Enable USB, UART output
pico_enable_stdio_usb(PicoTest 1)
pico_enable_stdio_uart(PicoTest 1)

# Enable extra outputs (SWD?)
pico_add_extra_outputs(PicoTest)
CMakeLists.txt
If everything goes well there should be a build folder with a PicoTest.uf2 file in it. You could upload this file to a Pico board and it would run but obviously it wouldn't do anything.
So next let's create a program that actually does something.
Blink an LED
The classic example program blinks the built-in LED on the Pico and this is what we're going to do. We'll create a new project but instead of manually going through the same steps as previously, let's use boilerplate script that creates the necessary files for us.
git clone git@github.com:peterzimon/pico-toolbox.git– this repo contains a couple of small useful tools. The script in themakepicofolder is the one that creates the base project with all the extra files that's needed. It's heavily inspired by this repo.- Open your bash config and add
makepicoscript to the path:export PATH="$PATH:$HOME/Code/pico-toolbox/makepico" - Run
makepico.sh blink– this creates a new folder calledblinkwith all the necessary files. Note that by default it creates C++ files, if you want to use plain C you can runmakepico.sh blink -cinstead.
Open the folder in VSCode and when asked, select the GCC Arm kit.
If everything goes alrite the project should auto-build and you should see a build folder with a lot of files in it.
Blink code
Copy and paste this to src/main.cpp:
#include "main.h"

int main() {
    // Use for debugging
    stdio_init_all();

    const uint LED_PIN = PICO_DEFAULT_LED_PIN;

    gpio_init(LED_PIN);
    gpio_set_dir(LED_PIN, GPIO_OUT);

    while (true) {
        gpio_put(LED_PIN, 1);
        sleep_ms(250);
        gpio_put(LED_PIN, 0);
        sleep_ms(250);
    }

    return 0;
}
Blink code
Click on Build in the VSCode toolbar to re-build the code.

First upload
The simplest way to run a program on a Pico is to mount the board as an USB device and upload a u2f file to it:
- Connect the Raspberry Pi Pico to your Mac using a micro-USB cable, making sure that you hold down the BOOTSEL button as you do so, to force it into USB Mass Storage Mode. A new drive will appear on your Mac.
- Drag and drop
build/blink.u2fto the Pico's root folder. The Pico should automatically unmount itself (resulting in a "Disk ejected improperly" error 😤) and the Pico's built-in LED should start blinking.
It's alive 🎉
For more info on this method check out the Getting started doc (from page 9).
It's quite cumbersome to remount the Pico every time we want to update our program, so in the next post we'll look at a more robust way to upload programs and debug our code using another Pico board.