Raspberry Pi Pico on Mac with C++ — part 3: Debugging
Debugging in VSCode and printing stuff on the laptop screen.
What we've done so far is nice but let's be honest, it's a PITA to replug the Pico every single time we make changes to the code. Luckily Serial Wire Debugging allows us to transfer programs to the Pico without all this struggle. Moreover, SWD can be used to debug the code on the board.
Debug in VSCode
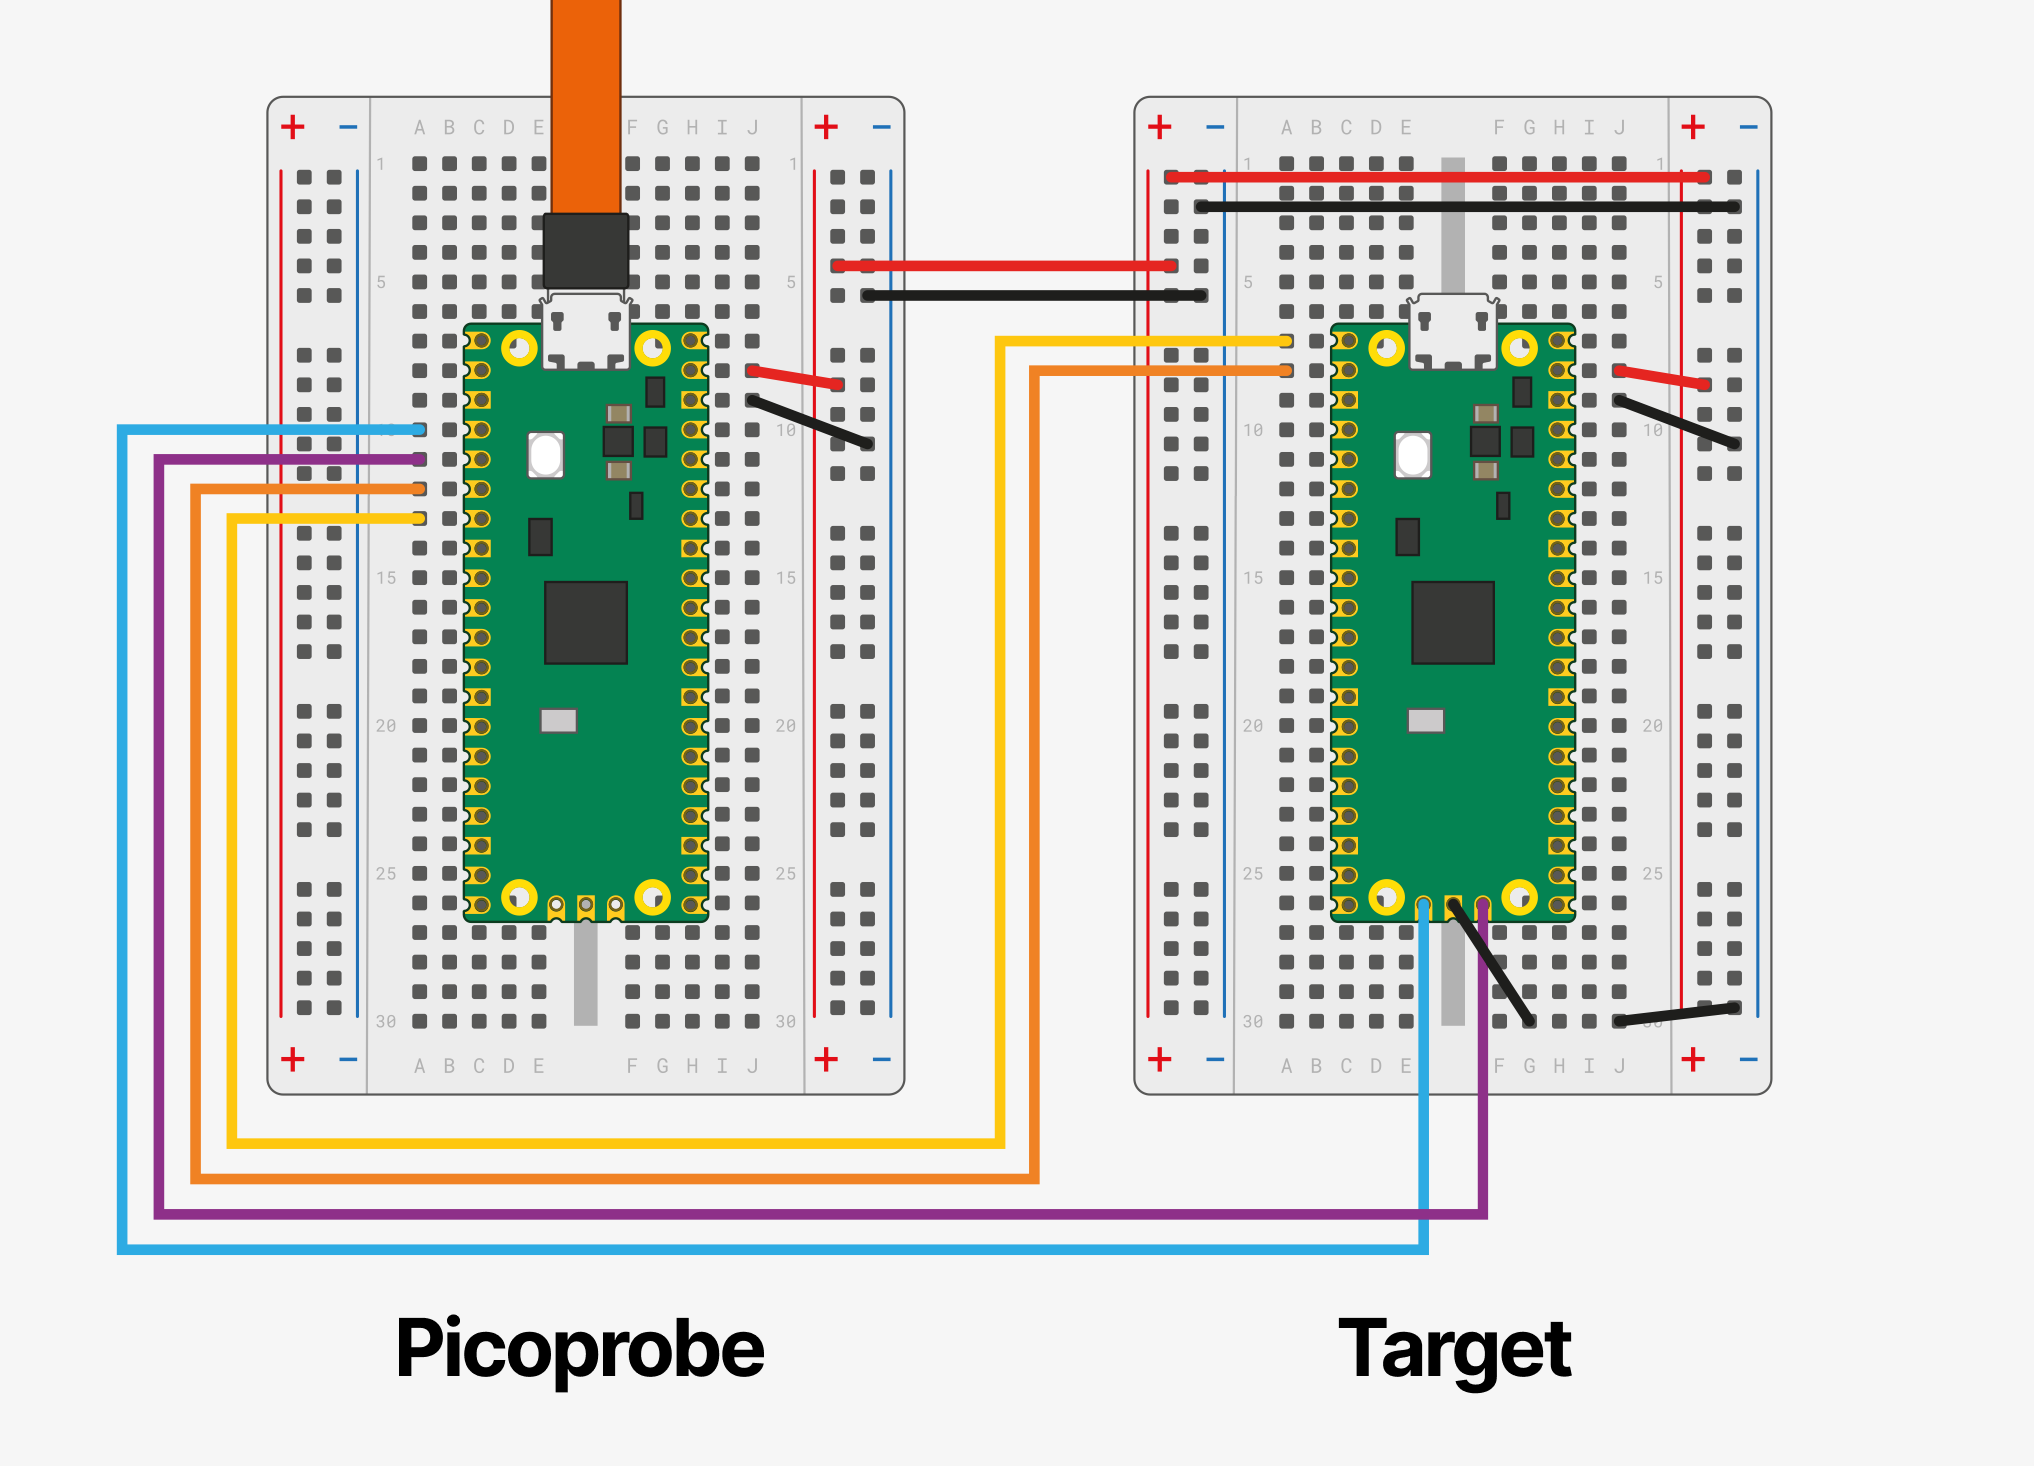
To have a much more robust environment we are going to use another Raspberry Pi Pico board, connect it to our original board and use it to transfer and debug the code we write. The RP2040 chip's SWD breakout pins can be found on Pico boards at the opposite end of the USB slot with the label "DEBUG". These pins are for data transfer, a clock and a common ground.
Again, to make use of SWD we need two Pico boards: on one we'll need to upload a program called Picoprobe and the other board will contain our own project that we'll be able to debug.
First let's build Picoprobe:
cd ~/Code
git clone https://github.com/raspberrypi/picoprobe.git
cd picoprobe
mkdir build
cd build
cmake ..
make -j4
Open the picoprobe/build directory. Connect one of your boards while holding the BOOTSEL button and upload the picoprobe.u2f file to the mounted storage disk.
Connect up your boards like this:
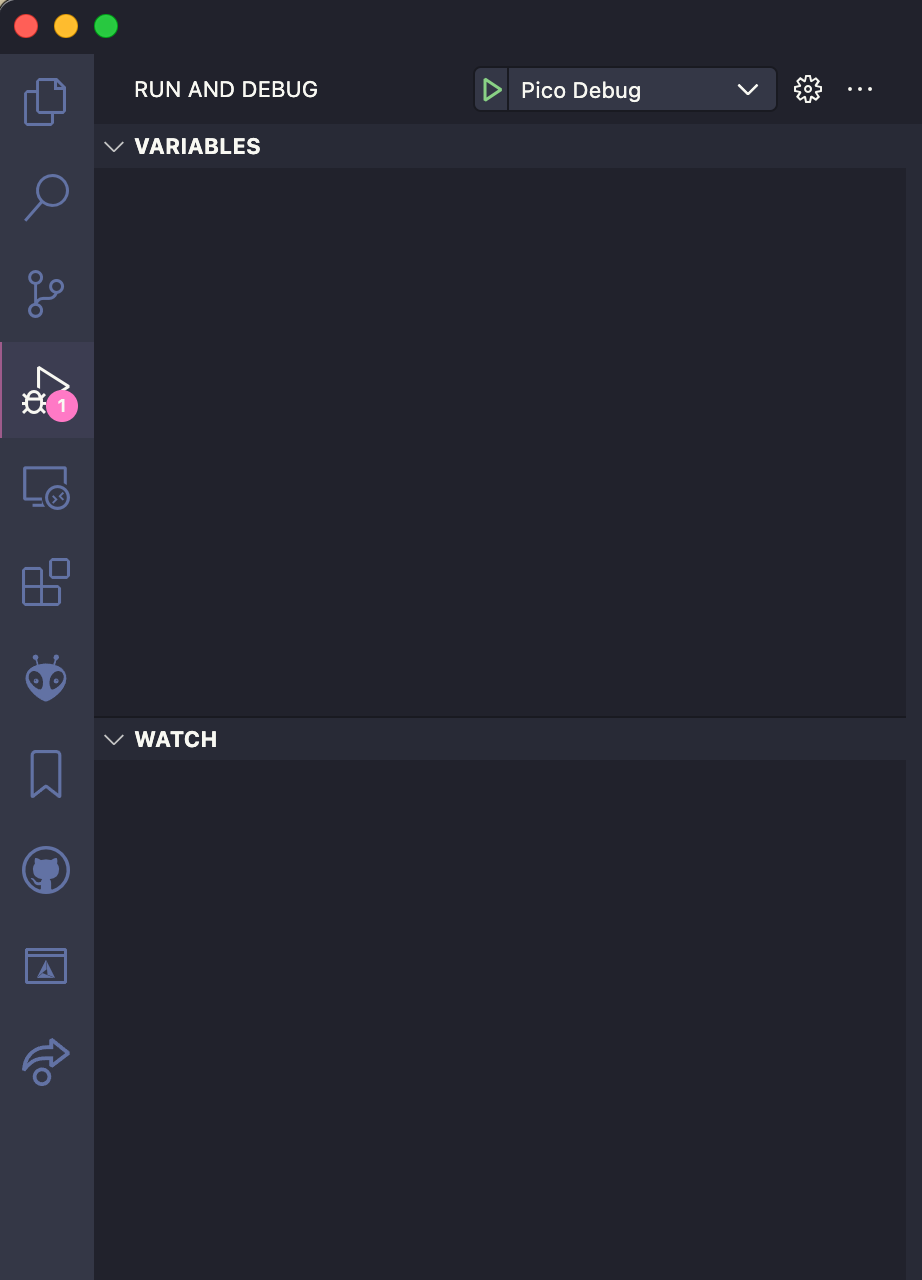
Now if you hit the debug button in VSCode, it should get into a debug session and stop at the main function. VSCode may ask which program to run, choose your project's name.
Print on the screen
If you installed Minicom then you can monitor printf outputs on your computer. Update the blink program to this:
#include "main.h"

int main() {
    // Use for debugging
    stdio_init_all();

    const uint LED_PIN = PICO_DEFAULT_LED_PIN;

    gpio_init(LED_PIN);
    gpio_set_dir(LED_PIN, GPIO_OUT);

    int loopCount = 0;

    while (true) {
        gpio_put(LED_PIN, 1);
        sleep_ms(250);
        gpio_put(LED_PIN, 0);
        sleep_ms(250);

        printf("Loop no: %d \r\n", loopCount);
        loopCount++;
    }

    return 0;
}
Next, start minicom with this command:
minicom -D /dev/tty.usbmodem1234561 -b 115200Note that 1234561 in the command above must be replaced with the boards proper ID (to figure out what it is use TAB completion).
If all goes well you should see minicom printing the number of iterations in the while loop:
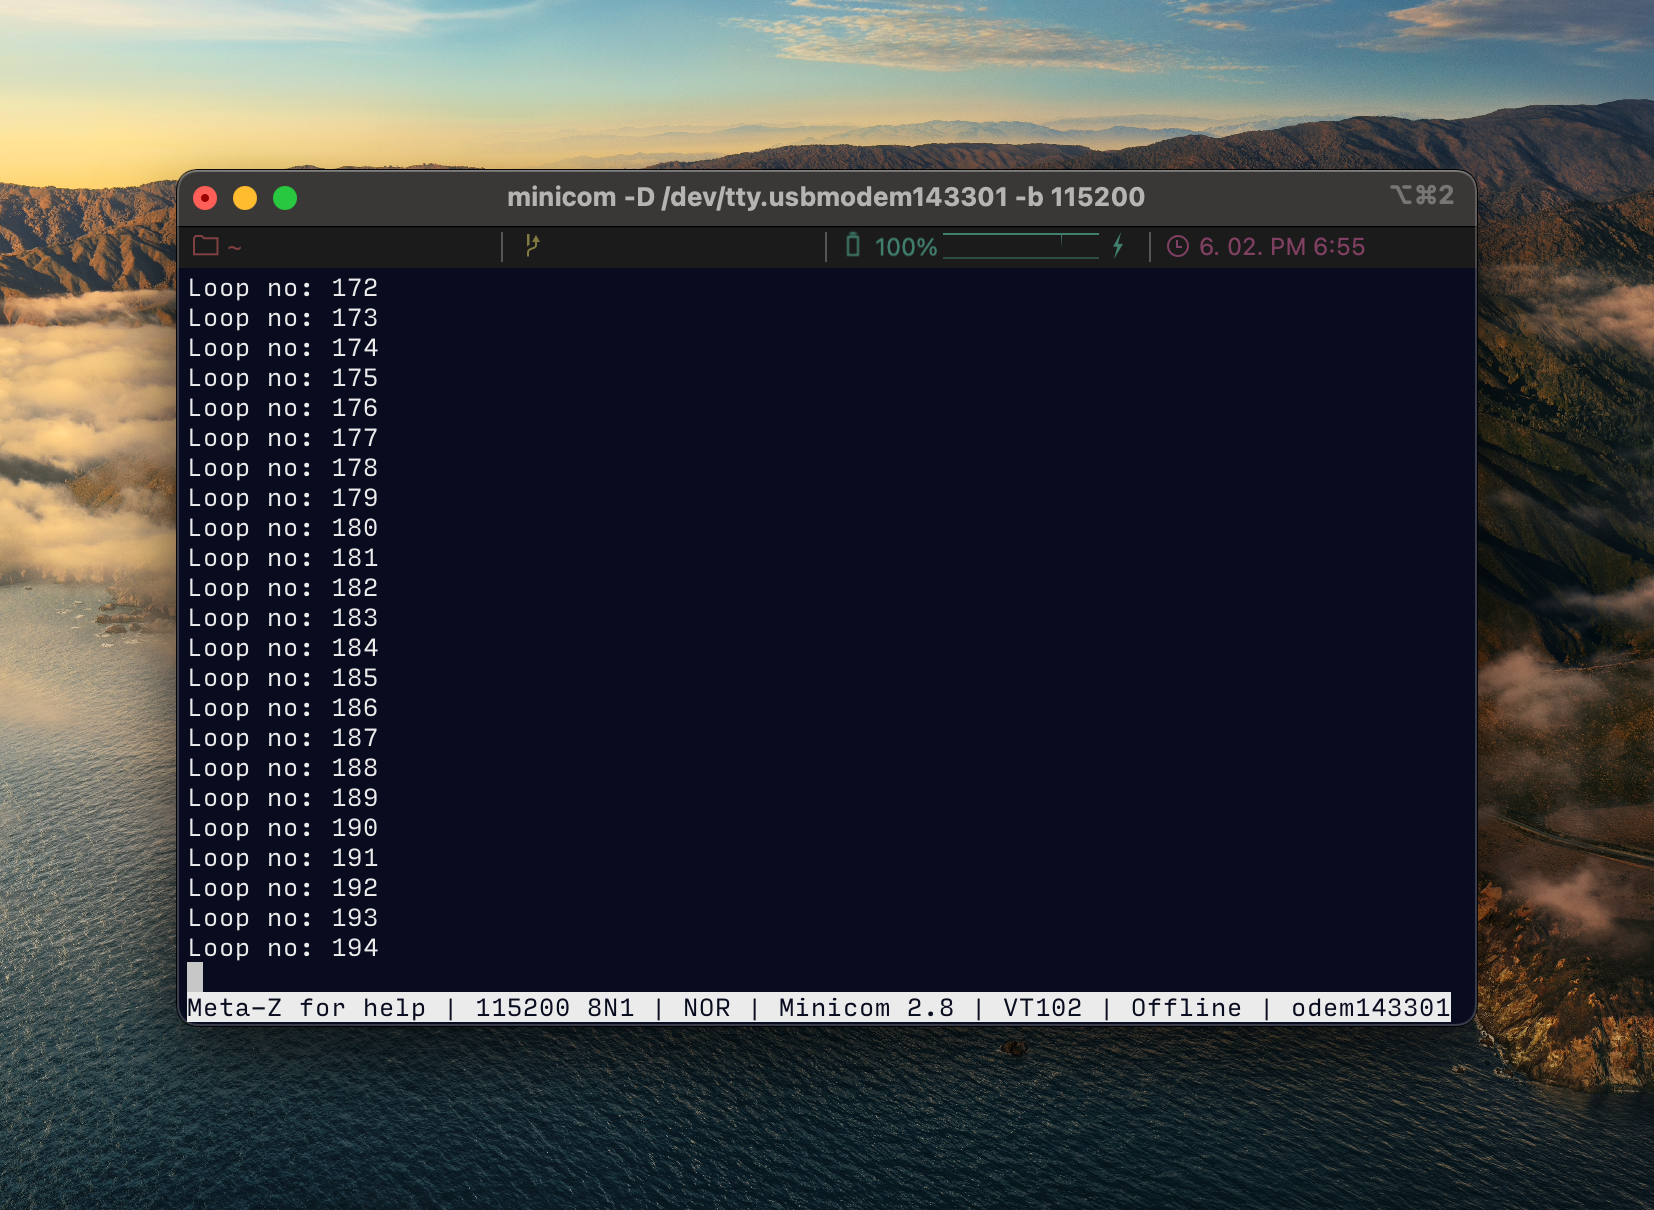
To exit Minicom hold Esc and X.
Troubleshooting
launch.json GDB shit
Fcking debugger sometimes works, sometimes not. I get random GDB/ "launch.json" related errors and I have no idea what the exact reason cand be.
I tried the following and some of them seemed to fix the problem:
- connect the ground of the target board very close to the picoprobe board
- connect a different USB slot
- swap the USB C connection around
My guess is that these random GDB related errors occur is the common ground of the circuit is unstable.
MacOS security shit
When first compiling code you might get a lot of these kind of popups:
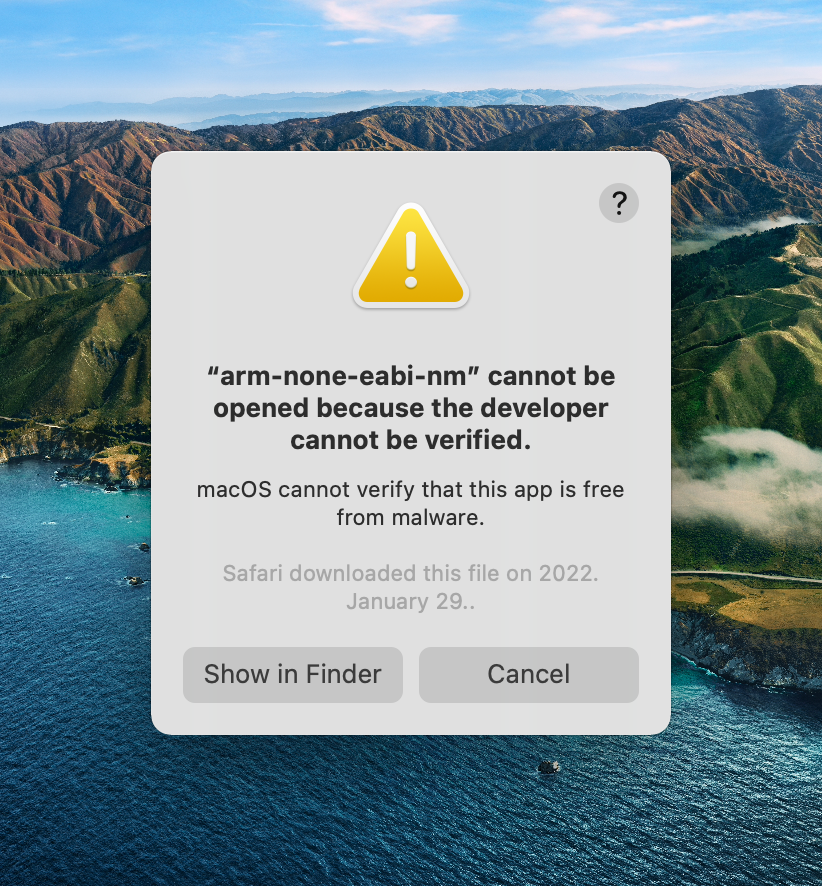
Unfortunately for all of them you have to do the usual MacOS security dance one-by-one:
- Open System Preferences / Security & Privacy
- Click on the "Allow Anyway" button
Resources
Getting started with Pico – SmittyTone
Debugging Pico – SmittyTone